
Understanding Edging and Mounting Crizal Coated Lenses
Guidelines and Tips
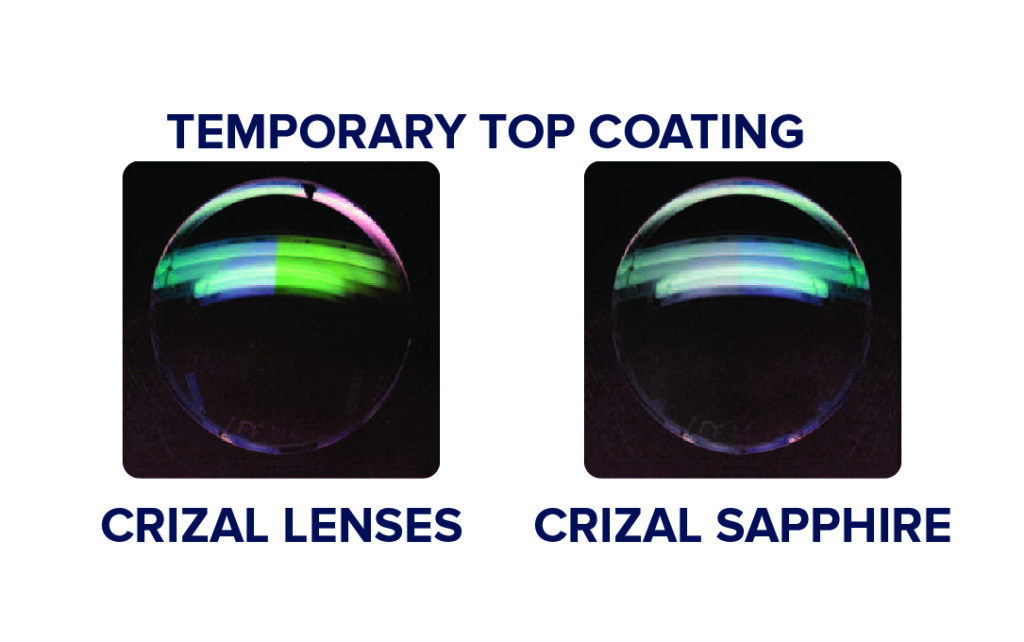
Crizal lenses feature a temporary top coat to assist with the edging process, allowing for a more precise result and provides the adhesion required to block the lens for edging, grooving, drilling and retouching. This coating will give most Crizal lenses a blue residual color until the coating is removed with a soft cloth (*Sapphire will have an ash/gray color when coated).
Please do not clean the lens or remove the coating before lens blocking and should be handled by the edges only, avoiding any finger or hand contact.
Lens Blocking
- Ensure the block is dry and clean.
- Apply blocking pad to the block first, being careful not to touch the adhesive coating.
- Use solid center edging blocks that match the front curve of the lens and make sure there is no flexing of the lens. Improper handling may cause twisting or slipping during the edging process.
Lens Edging
- Ensure that the edger clamp pads are clean and that the clamping pressure is set to the lowest amount recommend by the machine manufacturer.
- Select the material option that corresponds to the lens that is being edged.
- When possible, reduce the edger head pressure and feed rate, utilize the continuous lens rotation mode if available.
- Assure exact sizing; leaving lenses large creates unwanted stress on the lens after mounting.
Lens Mounting
- Verify lens fit before removing edging block, once removed the block cannot be reapplied.
- Rinse lenses in clean water and carefully deblock. Be sure to twist the block to remove, rather than pull or pry the block.
- Do not flex or bend the lens during deblocking or at any other time. Avoid the use of alignment pliers.
Final Cleaning
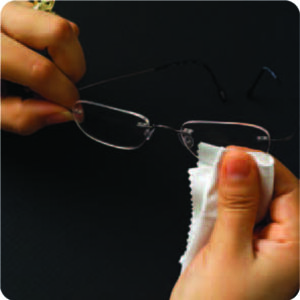
- Before mounting remove the temporary coating by wiping the lens with a soft cotton cloth. Once removed most Crizal lenses will have a green reflection, Crizal Sapphire will have a slight blue reflection.
- After mounting the lens, do not use a frame warmer or salt pan.
This content is restricted to site members. If you are an existing user, please log in. New users may register below.